
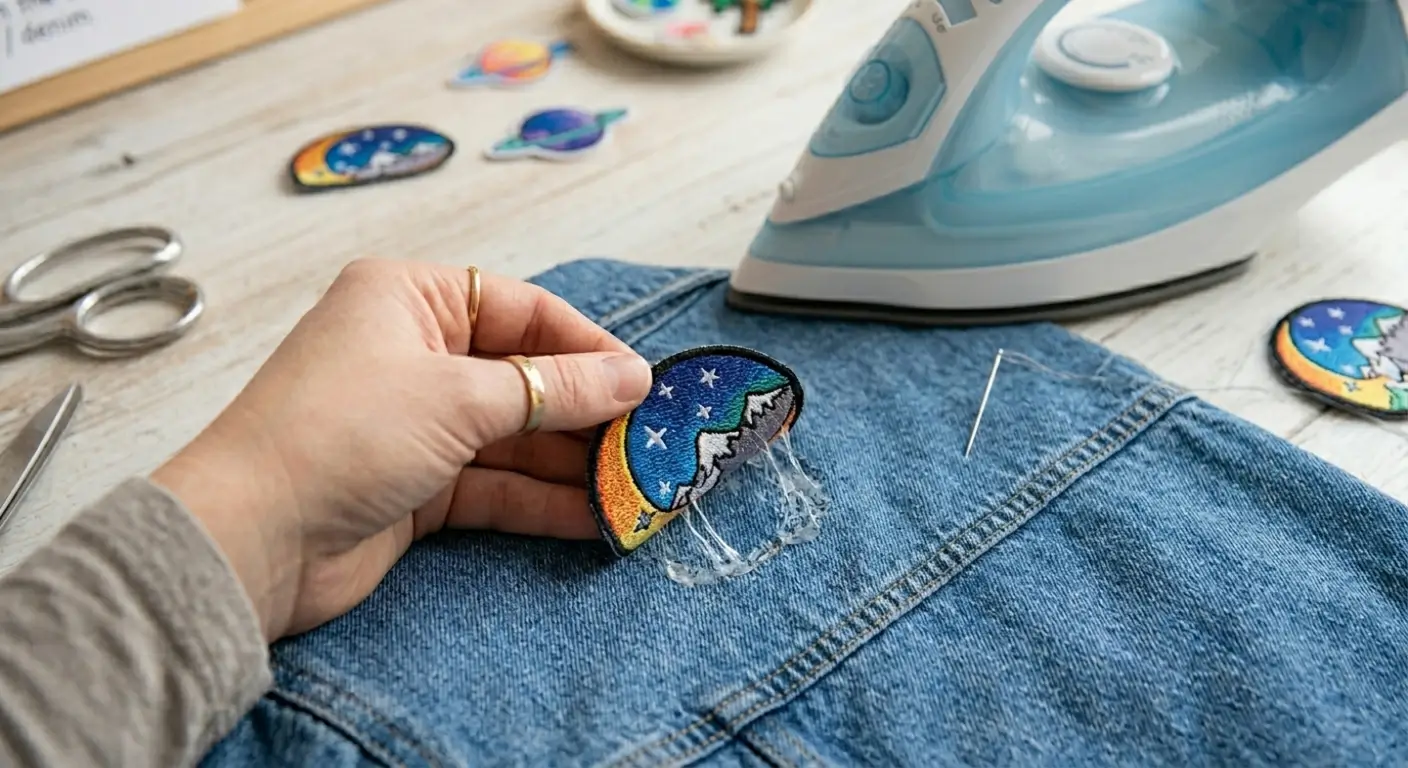
How to Remove Iron-On Patches Without Damaging Fabric
Reactivating the old glue with an iron’s heat makes removing the design easy. Find out how to remove iron-on patches without damaging your clothing or leaving sticky residue behind.
Using Gentle Techniques to Protect Fabric During Patch Removal
Iron-on patches are versatile and can be used to decorate, repair, and personalise various garments such as jackets, bags, and uniforms.
They are popular because they do not require any sewing skills and are easy to apply.
At other times, however, you may wish to get rid of them, perhaps to update a design, fix a mistake, or restore the original style of a garment.
There is a possibility of removal, but it needs to be done with care.
The patches have a strong heat-activated adhesive that adheres well to the fibres of the fabric. When they are removed improperly, they may tear garments, leave sticky residue, or weaken the fabric.
Learn how to remove iron-on patches without ruining your clothes in a way that is safe, practical, and fabric-friendly.
Why Do Iron-On Patches Adhere So Strongly?
Iron On Patches Made In London have a strong glue that turns sticky when it comes into contact with high temperatures. This adhesive will cool and set once chilled and will form a strong bond with the fabric.
This is why they last longer and are not easily washed out or worn out.
This strong bonding process makes it hard to remove them, requiring the heat effect to be reversed.
Loosen the adhesive on the patch first before trying to pull it off. If the glue is not softened, the removal process may damage the fibres or leave permanent marks on fine or fragile fabrics.
Use Heat To Loosen The Patch Safely
Controlled heat application will be the best way to remove the iron-on patch. When the adhesive is heated again, it softens and can be more easily removed from the fabric without ripping.
First, cover the patch with a thin cotton cloth. Apply a medium heat iron for approximately 20–30 seconds. This will enable the glue to remain soft without harming the surface.
After it warms up, carefully pull the edge of the patch up with tweezers or a blunt instrument from one corner. If it doesn’t give, try applying heat rather than forcing the action.
Pulling is not very effective if it is rapid and strong; it is better if it is slow and repeated. This method reduces the possibility of damage while guaranteeing the fabric’s quality.
Removing Iron-On Patches From Shirts Without Damage
There are different materials used for shirts: cotton, polyester, and blended. Each of these requires a slightly different strategy.
Direct heat with an iron is effective for cotton shirts. However, polyester shirts should be handled with care as they can melt or discolour at high temperatures. In this situation, a hairdryer would be a better choice.
Shirts may get wrinkled or shift during heating, so it is vital to be able to keep the material flat on a hard surface. This will guarantee uniform heat distribution and avoid uneven patch removal.
When doing this, it is important not to rush the process, as this will help maintain the quality of the garment.
Carefully Removing Iron-On Patches From Athletic Jerseys
Sports jerseys are usually made from polyester, which is sensitive to heat. This is a bit more delicate to remove than cotton fabrics.
A hairdryer is recommended rather than an iron.
Keep it about 2 inches from the heat and warm it slowly for about 30-60 seconds. This will weaken the glue and minimise the possibility of the product burning.
When the glue is warm, carefully remove the patch with tweezers. Do not rush this step because it may tear the surface of the fabric or stretch it.
How To Remove Iron-On Patches From Bags And Accessories
Canvas, nylon, or polyester is used to make bags. For this reason, it’s crucial to choose the right removal method based on the kind of fabric.
Canvas bags are also strong and heat-resistant, making controlled heat a good method.
On synthetic fabrics, such as nylon or polyester, a hairdryer or steam will be safer.
Bags are thicker than clothing and may take longer for the adhesive to work properly, since they have to be heated longer.
Safe Removal Of Adhesive After Patch Removal
The patch is frequently left with an adhesive that adheres to the cloth. To repair the clothing, this adhesive must be thoroughly cleansed.
Some of the more acceptable safe methods are given below:
- A gentle cloth soaked in rubbing alcohol
- For light adhesive spots, wash with warm soapy water
- Nail polish remover, stronger residue (test first)
- Lifting glue with a scrap piece of fabric
All methods should be tested on a small, concealed area before applying to the whole area. This ensures that the clothes won’t be harmed or ruined while being cleaned.
Do not scrub too aggressively, as this may weaken fibres or spread adhesive as well.
How To Remove Iron-On Patches Without Using An Iron
Even if you don’t have an iron, there are other ways to remove patches. These are particularly useful for delicate fabrics or traveling.
One of the safer alternatives is the hairdryer technique. Just warm the patch for 30-60 seconds, then carefully peel it off when the glue has softened.
Steam treatment is another alternative. When the fabric is above the boiling water, the steam will separate the glue without touching the material.
There are also adhesive removers or rubbing alcohol that can be used on particularly stubborn patches, but it is always best to test them first.
Avoiding Common Mistakes In Patch Removal
People often destroy clothes when they remove them because of unnecessary mistakes. Learning about these errors will help you save your clothes.
These errors include:
- Pulling the patch when the fabric is cold
- Applying too much force rather than heat
- Disregarding the sensitivity of the material
- Failure to clean any residue after pulling out
- Heating delicate fabrics
Speeding up the process is another common problem. Removal can only be effective with patience and repeated gentle heating.
By avoiding these errors, you will get a much safer and cleaner result.
Restoring Fabric After Patch Removal
After removal of the patch and adhesive, proper restoration of the fabric is important. This involves cleaning, smoothing, and inspection for any small damage.
Gently washing the garment helps to remove any residual adhesive remover and odour. You can iron it on low heat to help reshape it.
With gentle cleaning techniques, these small marks are typically cleared up if they occur. Taking time to restore fabric ensures the garment looks as good as new.
FAQs
Are all iron-on patches removable?
The majority of iron-on patches can be safely removed if enough attention is paid to the fabric type before attempting to remove the patch and enough care is taken to apply heat.
What is the best way to take patches off?
The safest way is by controlled heat from an iron or hairdryer, as this will soften the glue without harming the fibres of the fabric.
Can I remove patches and put them back in?
Often, removing the patch causes it to lose adhesion, making it hard to reuse without additional backing or glue.
How can I remove the residue left by patches after removal?
Leftover adhesive on fabric surfaces can be removed using rubbing alcohol, warm soapy water, or gentle reheating techniques.
Will the removal of a patch harm the clothing?
Careful application of heat and slow peeling of fabric causes minimal damage to the fabric. If the removal is forced, it will increase the risk of damage.
Conclusion
When removing iron-on patches, one has to be patient, use the proper equipment, and consider the type of fabric. Adhesive can be loosened without damaging clothing using heat-based methods, such as irons, steam, or hairdryers.
A soft peeling process and correct residue cleaning create a smooth appearance.
It is crucial to prevent common errors such as overloading the dryer, pressing, or overheating to ensure the safe preservation of clothing.
However, if the right approach is taken, patches can be removed without damaging the fabric.
Whether you’re updating your style or fixing an application, careful removal allows you to reuse or redesign your clothing without compromising quality or appearance.

As a fashion designer at Iron On Patches UK, I help businesses and people create custom iron-on patches. I help them with what I know about designing patches and what materials to use. I also talk about how to apply patches to different things and what’s popular in the patch world. My goal with the Iron-On Patches UK blog is to help people make premium patches that show their unique identity and how these patches can be a part of their brand. The Iron-On Patches UK blog is here to make it easy for people to customize their patches.