
How to Apply Iron-On Patches: Quick & Easy Method
Pressing the patch for a mere few seconds will not be sufficient to prevent the edges from rolling up and coming off after just one washing cycle. Learn how to put iron-on patches correctly every single time using the simplest methods possible.
Getting Your Fabric Ready for Smooth Patches Application
Iron-on patches are a fun and inventive means to customise garments, fix damaged or worn material, or add identity to uniforms, jackets, bags, and more.
They are popular due to their ease of use and do not require advanced sewing skills. You can use a household iron and a flat surface to create a special look on plain clothing.
The application process is simple, but it is important to apply correctly to achieve lasting results.
Patches can lift, get rid of the edges, or wash off if applied incorrectly.
Learn how to attach the patches correctly in a practical and understandable manner and keep them neat and secure for a longer period of time.
Choose The Appropriate Fabric Material
Some fabrics are more suitable than others when subjected to high temperatures.
Heavy cotton, classic denim, and rugged canvas are the best materials for these patches, as sturdy, tightly woven natural fibers enjoy intense heat.
These fabrics soak up the adhesive and create a firm hold that will endure everyday use.
However, synthetic materials need a gentle hand or a different sort of method.
Delicate nylons, smooth silks, and some polyester blends will easily distort, shrink, or even completely melt in direct contact with a hot iron.
Preparing Fabric For A Smooth And Reliable Finish
When patching, it is important to prepare the fabric first. A lot of failures are not due to the patch, but because the surface was not prepared.
Always make sure the cloth is clean, dry, and free from detergent, oils, or dust. Any residue of fabric softener will decrease adhesion.
If the material is creased, press it first to make it smooth and even.
It is important to have a suitable surface to allow heat to spread evenly, enabling the adhesive to adhere directly to the fibres.
Use Heat Correctly To Get A Strong Bond
The most important aspect of a secure attachment is heat. The glue on the back of the patch becomes active at the proper temperature and pressure.
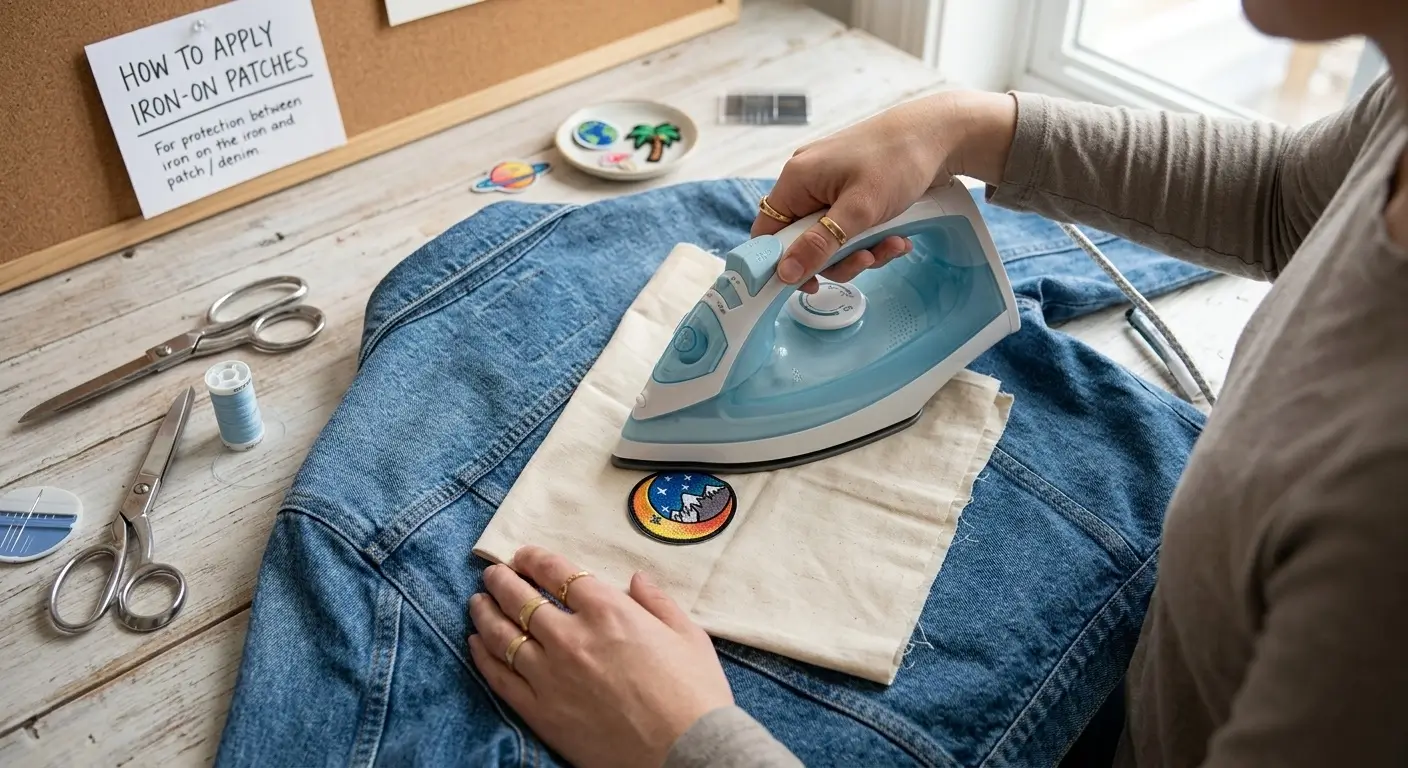
Place the patch carefully and place a thin cotton cloth to protect both the fabric and design. Press with a hot iron for 20-40 seconds, but do not rotate the iron.
After it has cooled completely, you’re ready to use it. The cooling process will allow the adhesive to set properly, making for a stronger, more durable bond.
Strengthening Patches For Long-Term Durability
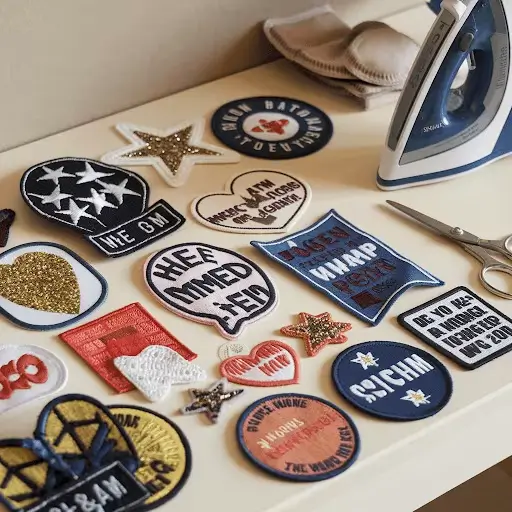
Some Iron On Patches might need reinforcement, even if they are used correctly, particularly on garments that are worn often, like jackets or bag packs.
Reinforcement is used to eliminate edge lifting and excessive wear.
You can strengthen your patch by:
- Adding small stitches around the edges
- Applying additional heat after the first pressing
- Using fabric-safe adhesives on weak spots
- Pressing edges tightly when applied
The following methods help to make the patch last longer and make it more resistant to washing and use.
Allow For Proper Cooling
As important as the heating process is, so is patience during the later stages.
Once you remove the heat source, the liquid adhesive remains extremely at risk.
Rough handling the edges or hanging it immediately will destroy the cooling alignment, and the half-set glue will come off the fabric threads and weaken the fabric structure.
Place the garment flat on your work table for at least 2-3 minutes.
The polymers begin to freeze and become solid as the temperature falls, forming a permanent bond between the backing and the textile structure.
Caring For Garments After Application
Aftercare is as crucial as correct application.
No matter how well the patch is attached, if the garment is not handled properly, the patch can weaken.
To maintain durability:
- Wash garments inside out
- Cold or lukewarm water should be used
- Do not use high spin cycles
- Avoid using the dryer on high settings
- Air dry whenever possible
These are good habits to follow that will help maintain the adhesive properties and keep the patch neat and secure for longer.
When To Reapply Or Replace A Patch
A patch sometimes wears out or shears, or may not attach at all. In such cases, you won’t get the desired results with repair, and replacement will be more beneficial.
Signs include:
- The fabric is completely removed from the garment
- Brittle or severely damaged backing
- Several lifts following multiple fixes
- Visible wear or fading of the patch
A new patch will give a cleaner and better-lasting look, particularly if the patch has been applied several times over the fabric.
Preventing Common Errors Which Cause Patch Failure
Peeling patches are common because of minor and easily preventable application errors. These errors tend to impact the long-term durability.
Common mistakes include:
- Insufficient heat or wrong iron setting
- Applying unequal or insufficient pressure
- Ironing out wrinkled or damp cloths
- Washing the garment too early after application
- Wrong fabric selections
By preventing these issues, the bond is stronger, and the overall life of the patch is improved. When applied carefully, this always results in better and lasting effects.
FAQs
How do I get the patch to stick to my clothes?
Press an iron-on patch for about 20 to 40 seconds with firm and steady pressure at appropriate heat levels.
Is it possible to iron-on patches on any fabric?
No, they are best for cotton and denim. Fabrics that are synthetic will need extra reinforcement or stitching to make them more durable.
What causes iron-on patches to come off?
Peeling is caused by inadequate heat, insufficient pressure, improper washing techniques, or using patches on a surface that is not prepared or appropriate.
Can clothes be washed right after patching?
No, it is best to leave the adhesive to set for at least 24 hours before washing to ensure that the adhesive sets and fully bonds.
Do you need to sew on after ironing on a patch?
Sewing isn’t a must, but it is highly recommended to ensure durability, particularly on items that are worn often and heavily.
Conclusion
Using iron-on patches the right way is actually quite easy as long as you perform each step carefully.
Preparation of the fabric, heat application, and cooling down all matter to create a durable bond between the fabric and the patch.
By avoiding typical mistakes and washing the patched garment in a gentler way, you can make it even more long-lasting.
Though ironing alone is usually enough to do the trick, additional sewing makes the patch last even longer, especially if it is applied to frequently worn clothes.
With proper execution and maintenance, iron-on patches can provide durability and elegance that will last for a long time.

As a fashion designer at Iron On Patches UK, I help businesses and people create custom iron-on patches. I help them with what I know about designing patches and what materials to use. I also talk about how to apply patches to different things and what’s popular in the patch world. My goal with the Iron-On Patches UK blog is to help people make premium patches that show their unique identity and how these patches can be a part of their brand. The Iron-On Patches UK blog is here to make it easy for people to customize their patches.