
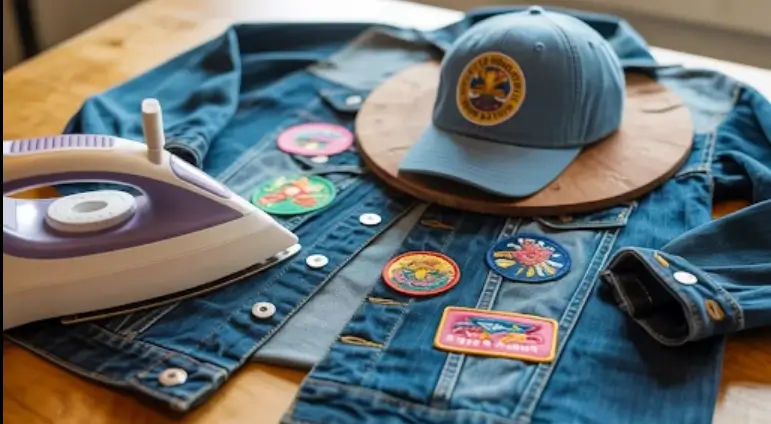
How to Place Iron-On Patches for the Best Fashion Look
Do you want your patches to be perfectly placed? Position your chest patches four inches from the collar and your jacket back patches centred between your shoulder blades. Use a measuring tape for precise placement.
Preparing Your Fabric Surface For Perfect Application Of Iron-On Patches
With just a few seconds of preparation, turn a simple denim jacket, plain canvas tote, or daily work shirt into a bold fashion statement.
Iron-on patches are one of the simplest methods to update your wardrobe, display your own creativity, or make a team uniform really professional.
But if a design is misaligned by a mere few millimetres, or if heat is applied in the wrong way, then a cool project can be a disappointing outcome.
To create a shop-bought finish, it’s important to position the iron at an appropriate height, prepare the surface properly, and set the iron at the correct temperature.
With a clear and step-by-step approach, you can place each design with complete confidence, and update your favorite outfits easily.
Use The Flat Garment Areas For Maximum Adhesion
Selecting the appropriate surface area for your apparel will make the entire application process much smoother. Be sure to pick a flat surface with no seams, zippers, pockets, or heavy stitching.
A big seam is best supported with a backing directly above it to allow the adhesive to apply evenly and avoid peeling corners after several washings.
The best material foundation for iron-on patches is natural cotton, denim, and canvas. Spending a little extra time to gently flatten out the natural wrinkles ensures that your design will lie flat every day and look neat while simultaneously providing the maximum lifespan and durability.
Measure Carefully For Perfect Patch Balance
Correct symmetry and visual alignment are the key to achieving a professional look.
Always put the clothing on a firm table before ironing and use a flexible fabric tape measure to determine distances between collar lines, shoulder seams, and side hems.
To use a left-chest design, place the centre of the patch about seven to nine inches down from the shoulder seam, and between the armhole and the centre buttons.
When it comes to corporate workwear, having top-quality iron-on patches for custom company uniforms ensures that all employees look neat, consistent, and sharp on every shift.
Iron The Base Fabric To Remove Moisture
Many people don’t pay attention to preparing surfaces, which is an important aspect of cloth customisation. Pre-iron your selected area of fabric for 10-15 seconds with a hot iron before setting your designs.
Pre-heating frees up the moisture that may be concealed in the fibres of the fabric and will straighten out any minor wrinkles that would spoil your layout.
When the iron-on patch is applied onto the warm and dry material, the glue gets absorbed deep within the weaves of the material. This easy preparation procedure ensures a much better bond that will not peel even after repeated washings in the machine.
Protect Delicate Surface Fibres With Parchment Paper
Sensitive fabrics or complicated embroidery threads on your patches can be burnt by direct heat from a hot iron soleplate.
Cover your design with a thin pressing cloth, baking parchment paper or a clean cotton pillowcase to avoid shiny heat marks or burnt fabric.
This protective layer will make sure that heat is distributed evenly across the entire surface area, plus it will keep your iron surface completely clean.
Make sure the protective sheet does not have folds or wrinkles in the paper, as this can press unwanted lines into your garment when applying it.
Position Your Design Carefully For Visual Impact
You can instantly make any regular garment look more attractive with a design displayed in a visually appealing position.
Central placement is great on the back of jackets, the middle of tote bags, or front pockets of hoodies, and subtle offset placement is perfect on sleeves and chest pockets. Step back and look at the garment from a distance to make sure the design is balanced to the human eye.
For promotional swag or individual products, opting for custom iron-on patches for your unique brand enables you to prominently display your logo, making it a striking marketing tool wherever you go.
Apply Heavy Vertical Pressure For A Stronger Bond
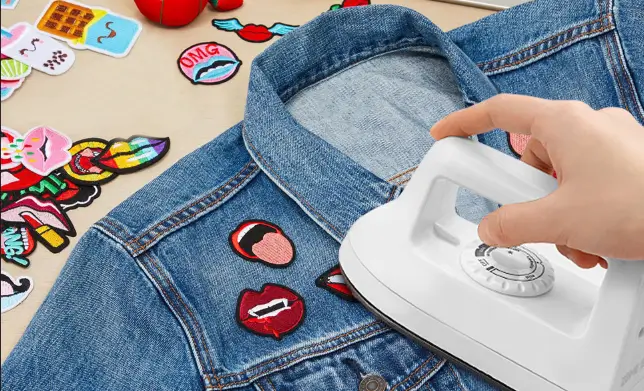
When using iron-on patches, apply the heat with steady pressure and do not slide. Use the iron on the hot cotton setting without the steam, as moisture will affect the glue bonding process.
Place your covered design down firmly and apply pressure for 20-30 seconds, but do not move the iron back and forth. Shifting or moving the iron around can change the patch placement and alter the edges.
Multi-directional pressure applied to the solid adhesive helps the adhesive penetrate the fabric weave and results in a strong, permanent bond.
Allow Adhesives To Cool Completely Before Testing
The last part of the application is the time of patience, and it determines the success or failure of the project. Avoid peeling and bending the fabric while it is still warm.
The glue has to cool completely and harden within the fabric to ensure a durable bond, taking several minutes.
Leave customised clothing on a table for 10 minutes or more. After completely cooled, slowly test the sides with fingers to make sure that all corners sit in place smoothly without lifting.
Reinforce Every Patch For Lasting Durability
When using heat on the back of your newly styled garment, turn it inside out and apply it to the inner surface of the textile to make it last for years of regular wear.
Ironing the back for 15-20 seconds further gets the softened adhesive into the fibres from the back. This heating technique works on both sides, which makes it impossible to lift the edges.
Iron On Patches made in London ensures the highest quality craftsmanship and heat-activated adhesives that last through repeated wear and retain rich, vibrant colours over time.
Follow Proper Washing Care To Prevent Lifting
Your customised garments need to be gently washed to keep them looking fresh and vibrant. When putting clothes into a washing machine, turn them inside out to ensure the embroidery does not rub against other garments.
Use cool or warm water settings with a mild laundry detergent, and refrain from using fabric softeners or chemical dyes or bleaches that may eventually loosen adhesives.
High dryer heat can melt the glue and curl up the edges, so air drying clothes on a line or drying rack is always suggested.
Essential Answers Before Using Iron-On Patches
How do you attach iron-on patches?
Apply to a clean, flat piece of clothing, cover with a pressing cloth, and press with a hot iron for the specified amount of time, using even pressure. Let it cool thoroughly before transferring the fabric to ensure good adhesion and long durability.
What are the typical problems associated with iron-on patches?
Common errors are incorrect temperature, constant motion of the iron, pressure applied unevenly, patching on improper fabrics, or wearing or washing the garment before the patch is cooled properly.
Is it better to glue or iron-on patches?
When applied to an appropriate material, iron-on patches usually give a more professional, effective, and clean finish than fabric glue. While glue can come in handy in certain instances of delicate material or temporary repairs, heat-activated adhesive is often more durable and will look cleaner when it comes to apparel used daily.
For how long does an iron-on patch last?
A correctly applied patch can last many years without normal wear and correct care. Wash inside out, use moderate temperatures, and avoid exposure to excessive heat when drying to maintain the adhesive strength and the appearance of the patch over the years.
How to adhere an iron-on patch more effectively?
Make sure the garment is clean, don’t use too high an iron temperature, press evenly, and let the patch completely cool before touching it. Reinforcing the edges with a couple of stitches adds strength and durability for heavily worn and frequently laundered items.
Conclusion
Adding colourful iron-on patches to your everyday clothing is a great creative, rewarding, and easy way to showcase your creativity or enhance your corporate branding.
Accurate measurements, preparation of your cloth, covering of your design, and the application of firm heat result in the perfect finish every time.
By adopting smart washing practices, your personalised pieces will stay sharp, secure, and beautiful through countless wears. Collect your clothes, pick your favourite patterns, and start to style with complete confidence.

As a fashion designer at Iron On Patches UK, I help businesses and people create custom iron-on patches. I help them with what I know about designing patches and what materials to use. I also talk about how to apply patches to different things and what’s popular in the patch world. My goal with the Iron-On Patches UK blog is to help people make premium patches that show their unique identity and how these patches can be a part of their brand. The Iron-On Patches UK blog is here to make it easy for people to customize their patches.